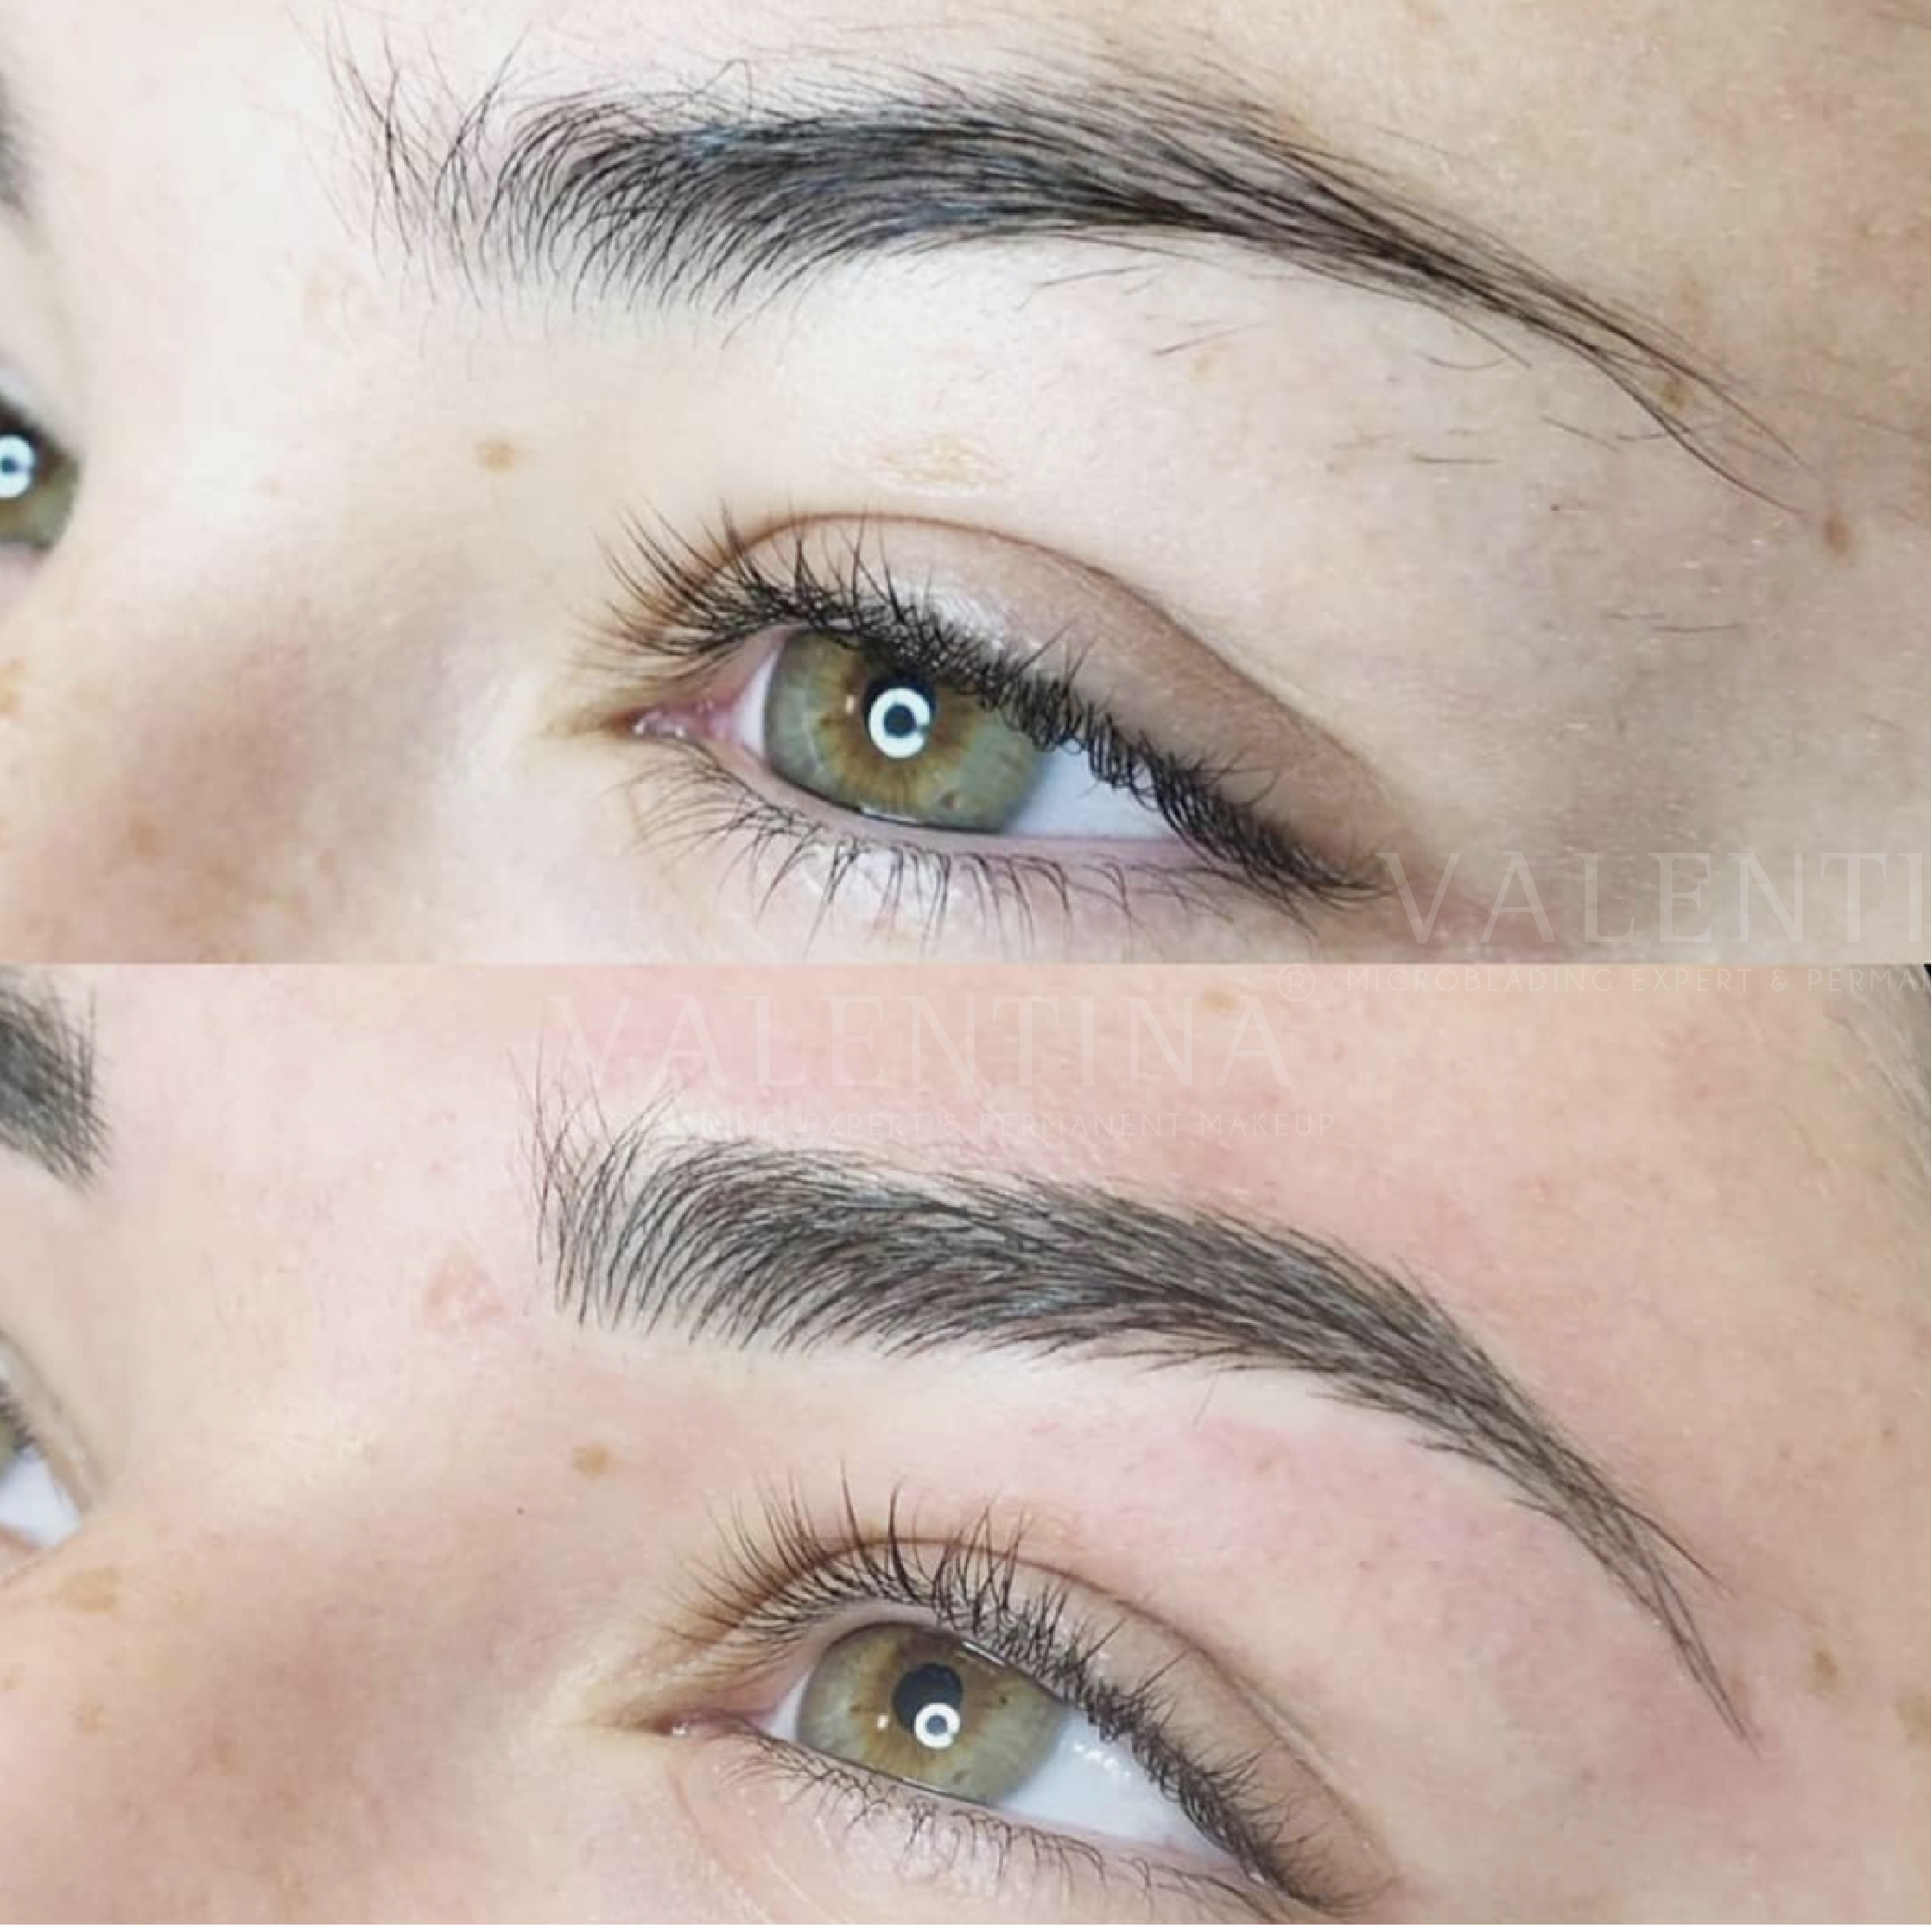
If you are healthy, you should be pleasantly surprised by how easily and speedy your eyebrows heal.
The process is not only manageable but also designed to fit seamlessly into your routine. When your body is in good condition, it naturally facilitates faster skin regeneration, which is key to a smooth and stress-free recovery. By adhering to proper aftercare guidelines and maintaining a balanced lifestyle, your brows will transition beautifully through each healing stage.
In this guide, we will take you through how your microblading will look as it heals, giving you a clear understanding of what to expect. We’ll also explore the two most popular and effective aftercare methods, so you can choose the one that fits your lifestyle and ensures the best results.
With the right approach, your microblading journey can be both exciting and rewarding.
How Does the Microblading Healing Process Look?
If you’ve been considering microblading to achieve those flawless, low-maintenance brows, you might have hesitated because of concerns about the healing process. It’s natural to wonder: will you need weeks of downtime or have to avoid social events while your brows heal? Thankfully, the microblading healing process is faster and easier than you might expect. Let’s break it down step by step.

Day 1: Fresh Brows and Minimal Redness
Right after your microblading session, your brows will look beautifully defined but slightly darker than the final result. You may notice a little redness or tenderness around the area, but this typically subsides within a few hours. Many clients are thrilled with how natural their brows look immediately after the procedure.
Days 2-4: The Color Deepens
Over the next couple of days, your brows may appear darker as the pigment settles into your skin. This is completely normal and part of the process. Some clients report mild flaking or dryness, but it’s essential to resist the urge to pick at your brows. Keeping the area clean and moisturized with the aftercare balm provided by your artist will help.
Days 5-10: Flaking and Lightening
As your skin heals, you might notice light flaking or peeling. This is when your brows start to lighten and settle into their more natural shade. During this stage, it’s crucial to avoid water exposure, heavy sweating, and direct sunlight. This ensures the pigment stays intact and heals evenly.
Days 10-14: Almost There!
By the two-week mark, your brows should look much closer to the final result. The flaking will have subsided, and the color will appear more natural. At this point, you’re free to return to your regular skincare and makeup routine, keeping in mind to avoid exfoliating products directly on the brow area.
Week 4-6: The Perfecting Touch-Up
About a month after your initial appointment, it’s time for your complimentary touch-up session. This is when your artist will refine any areas where the pigment may have faded or adjust the shape slightly if needed. After this, your brows will be ready to turn heads for up to two years with proper care.
Why the Healing Process Feels Quick
Unlike some beauty treatments that require significant downtime, microblading allows you to go about your life with minimal disruption. With the right aftercare and a bit of patience, the healing process flies by, leaving you with stunning, long-lasting brows that save time every day.
So, if you’re ready to wake up with perfect brows and enjoy the convenience of low-maintenance beauty, don’t let concerns about healing hold you back. The process is quicker than you think, and the results are so worth it!


